
There are 3 part imports currently available in EMDECS:
-
Import Parts (list of all parts)
-
Import Parts Onhands
-
Import Part Location Details
Note: If you have multiple inventory warehouses, use the Import Part Location Details upload to change part prices and storage locations
If you have multiple inventory locations or warehouses and use Cost by Warehouse (each of your locations/warehouses track cost separately), it is necessary to use the Import Part Location Details tab to import warehouse specific part prices. The Part Master import updates the corporate level cost only, not the cost for individual warehouses or locations.
Import Parts:
Video Walkthrough
Follow these steps to import a new or updated list of parts:
1. Open the Parts menu and select Part Master
2. Click on the Import Parts tab at the bottom of the screen or under Things to Do on the left hand side.
3. Before your part list can be uploaded, the data needs to be inserted into a template that is recognized by EMDECS. Click on the Download Template button. You'll be given the option to include the current data set in the download file. Select Yes if you want to edit existing parts that you already have in EMDECS, or select No if you would like to add new parts to EMDECS.
Note: If you choose to include your current data, the file may take several minutes or longer to generate. Open the Reports screen > Report History tab to view / download the file when the report has finished generating
4. The template can be opened and edited using Microsoft Excel. Click on Enable Editing to be able to input data into the spreadsheet.
5. The top row contains a column header with a code name for the data. The second row contains a long form description of the data that needs to be in the column.
Note: Fields marked in bold (Item Code, Description, Unit of Measure etc.) are required. All other fields are optional and will be ignored if left blank.
6. Populate the file with your data and save the file. It is recommended to use the Save As option so you can rename the file and find it on your computer later.
7. Once you've saved the file, go back to EMDECS and click on Choose File.
8. In the pop-up, browse from the correct file, and then click on Open.
9. Once the file is uploaded to EMDECS, click on the Import button.
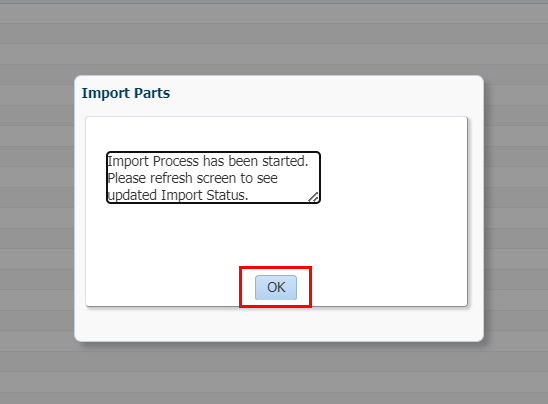
10. You will get a pop-up that says, "Import process has been started. Please refresh screen to see updated Import status." Click OK.
11. Click the Refresh button to load the status and progress details. Once completed, the status will display Complete, along with the number of Records Imported and any Data Errors or File Errors.
12. Click on the number hyperlinks in the Data Errors or File Errors columns to view the errors in more detail.
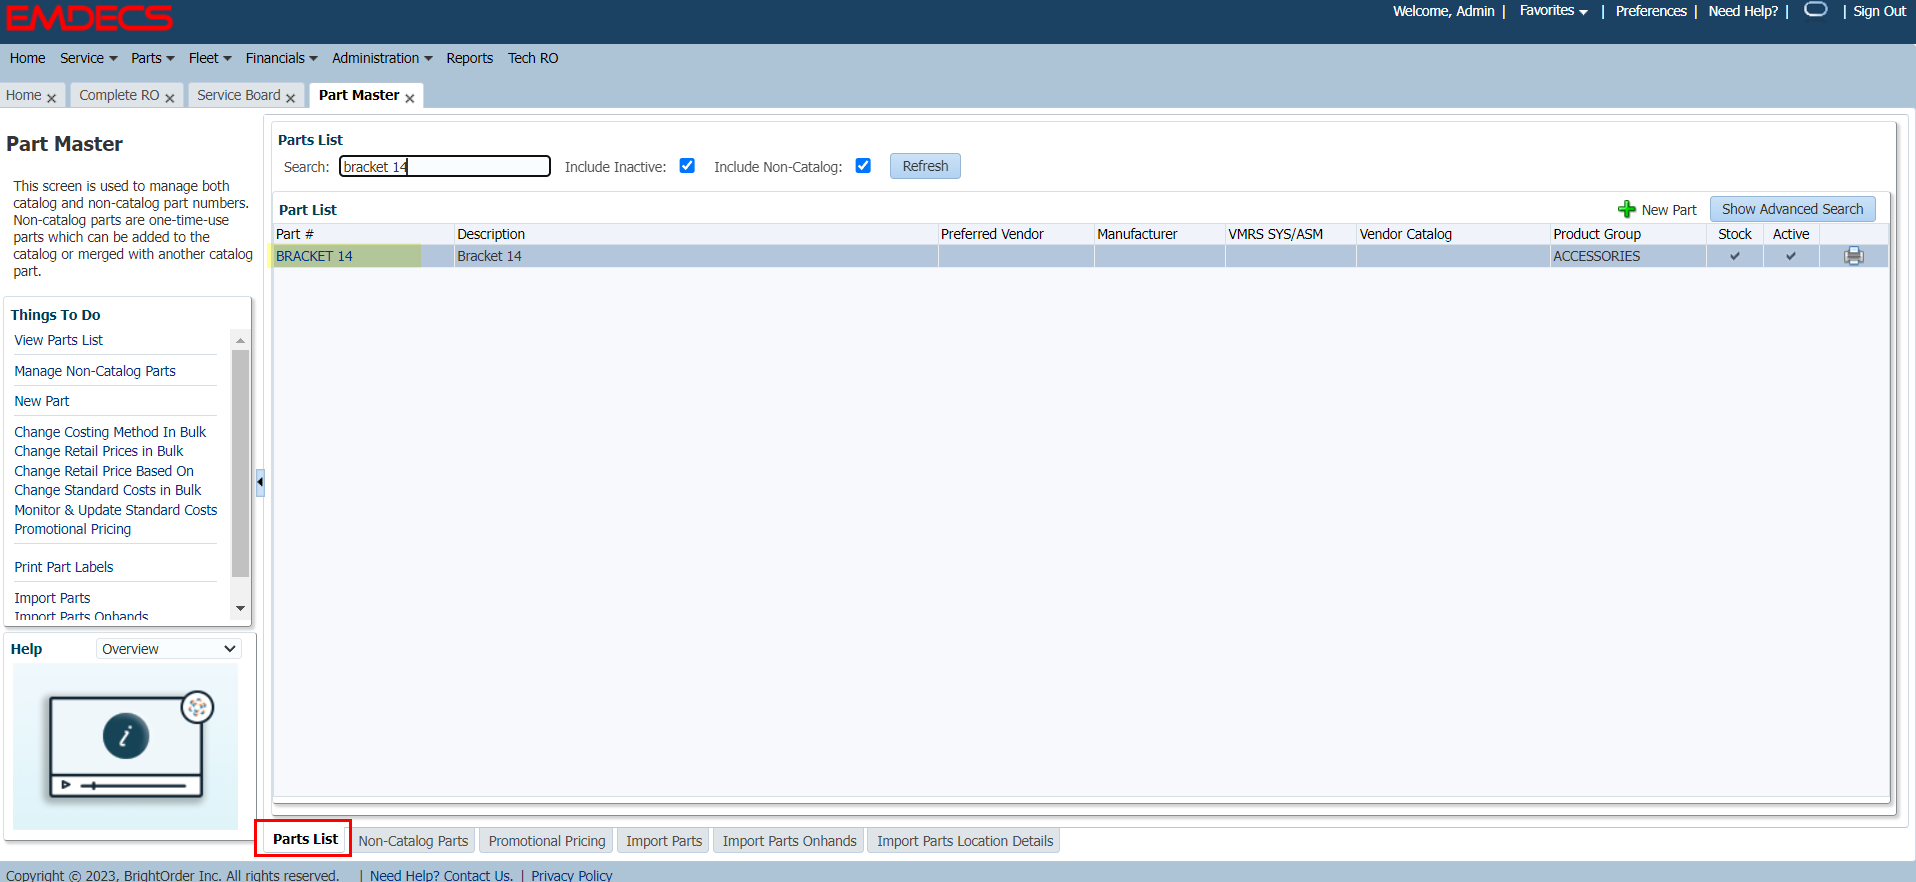
13. You can double check the import was successful by going to the Parts List and searching for a Part Number that was imported. In this example you can see that BRACKET 14 was imported successfully as it shows in the Parts List.
Import Parts Onhands
Follow these steps to import part onhands:
1. Open the Parts menu and select Part Master
2. Click on the Import Parts Onhands tab at the bottom of the screen or under Things to Do on the left hand side.
3. Before your data can be uploaded, the data needs to be inserted into a template that is recognized by EMDECS. Click on the Download Template button.
4. The template can be opened and edited using Microsoft Excel. Click on Enable Editing to be able to input data into the spreadsheet.
5. The top row contains a column header with a code name for the data. The second row contains a long form description of the data that needs to be in the column.
Note: Fields marked in bold (Item code, Warehouse Code etc. ) are required. All other fields are optional and will be ignored if left blank.
6. Populate the file with your data and save the file. It is recommended to use the Save As option so you can rename the file and find it on your computer later.
7. Once you've saved the file, go back to EMDECS and click on Choose File.
8. In the pop-up, browse from the correct file, and then click on Open.
9. Once the file is uploaded to EMDECS, click on the Import button.
10. You will get a pop-up that says, "Import process has been started. Please refresh screen to see updated Import status." Click OK.
11. Click the Refresh button to load the status and progress details. Once completed, the status will display Complete, along with the number of Records Imported and any Data Errors or File Errors.
12. Click on the number hyperlinks in the Data Errors or File Errors columns to view the errors in more detail.
13. You can double check the import was successful by going to the Parts List. Search for a Part Number and go to the Stock Availability tab.
In this example you can see that the onhand value for BRACKET 14 in warehouse SHOP was updated to 100.
Import Parts Location Details
Note: If you have multiple inventory warehouses, use the Import Part Location Details upload to change part prices and storage locations
Note: If you have multiple inventory locations or warehouses and use Cost by Warehouse (each of your locations/warehouses track cost separately), it is necessary to use the Import Part Location Details tab to import warehouse specific part prices. The Part Master import updates the corporate level cost only, not the cost for individual warehouses or locations.
Follow these steps to import part location details:
1. Open the Parts menu and select Part Master
2. Click on the Import Parts Location Details tab at the bottom of the screen or under Things to Do on the left hand side.
3. Before your data can be uploaded, the data needs to be inserted into a template that is recognized by EMDECS. Click on the Download Template button.
4. The template can be opened and edited using Microsoft Excel. Click on Enable Editing to be able to input data into the spreadsheet.
5. The top row contains a column header with a code name for the data. The second row contains a long form description of the data that needs to be in the column.
Note: Fields marked in bold (Item code, Warehouse Code etc. ) are required. All other fields are optional and will be ignored if left blank.
6. Populate the file with your data and save the file. It is recommended to use the Save As option so you can rename the file and find it on your computer later.
7. Once you've saved the file, go back to EMDECS and click on Choose File.
8. In the pop-up, browse from the correct file, and then click on Open.
9. Once the file is uploaded to EMDECS, click on the Import button.
10. You will get a pop-up that says, "Import process has been started. Please refresh screen to see updated Import status." Click OK.
11. Click the Refresh button to load the status and progress details. Once completed, the status will display Complete, along with the number of Records Imported and any Data Errors or File Errors.
12. Click on the number hyperlinks in the Data Errors or File Errors columns to view the errors in more detail.
13. You can double check the import was successful by going to the Parts List. Search for a Part Number and go to the Stock Availability tab.
In this example you can see that the location for BRACKET 14 in warehouse SHOP was added.
Data Errors and File Errors
If you have a lot errors to fix, you can open the original file containing all records, fix them then re-upload the file.
Common causes of import errors include:
-
Required fields left blank (the error message will contain the phrase "cannot insert NULL into. . . "). To resolve this error, fill in all required fields and re-upload.
-
Invalid special characters. EMDECS can only import data containing alphanumeric characters and English language standard keyboard characters. For example, an ampersand (&) can be entered in the part description field, but the degree symbol (°) will cause an import error.
-
Invalid data (i.e. alphabetic characters entered in a part price field or an incorrect date format).
-
Value too large for column. Some values, such as a product group code, have a maximum length of 12 characters, for example. Look in the error message for the maximum size: "ORA-12899: value too large for column "PERFIT"."CD_CONVERSION_ITEM_MASTERS"."PROGRO_CODE" (actual: 13, maximum: 12)"
Note: If you are unsure how to correct any file or data errors please submit a ticket to help@brightorder.com
Tips to Avoid Common Cell Format Errors that May Corrupt Your Data
Note: If you use Microsoft Excel to enter or paste data for import, ensure that all columns are formatted as type Text. Using other formats can result in import errors. For example, Excel may round numbers automatically, truncate leading zeroes, or change dates based on your computer's location settings (i.e. MM/DD versus DD/MM).
There are two methods to set cells to type Text outlined below:
Method 1: Highlight all columns containing data, select the Home tab, then set the type to Text from the drop-down list:
Method 2: Highlight all columns containing data and press Ctrl-1. The Format Cells window will pop-up. Select Text and click OK to save.
Note: If you copy and paste data from another Excel spreadsheet in to the upload template, unwanted cell formatting may be copied unless you paste values only!
To paste raw values from another spreadsheet without copying over formatting, right-click in the cell where you want to paste your data and select "Values" under the Paste Options to paste the raw data without cell formatting, as shown below: