Setting up parts to be serialized
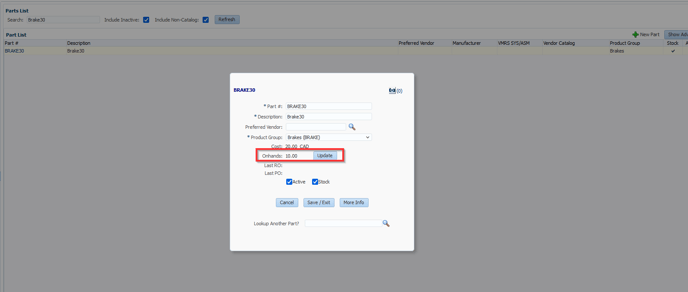
Creating the Part
If you do not currently have the part in stock, you can also order and receive it through the parts > order parts option. For more information on how to order and receive parts, please refer to the article available here.
Initializing Serial Numbers
Please remember that each serialized part will have its own unique serial number and cost, which may still be influenced by parts contracts. The unit cost reflects the cost of each individual part instance and is subject to contract terms independently.
Additionally, it is crucial to note that in order to serialize parts, there must be a positive on-hand quantity at the specific warehouse where you are setting up serialization. If a warehouse has a zero on-hand quantity, you will not be able to serialize the part.


Ordering & Receiving Serialized Parts
Ordering Serialized Parts
The first screen we'll want to go is Parts > Order Parts > Order from Vendor. Then we'll need to select the warehouse and vendor. As mentioned in the setup section each serialized part will be attached to a specific warehouse, rather than being available across the board.

After we select the warehouse we'll see the purchase order screen, From here we want to search for our part BRAKE30. At this point the part works like most other parts when ordering, you don't need to add the unique serial number until receiving. The main differential is the term "[Serialized]" under the part #. You can press order once you've added all parts you need to,

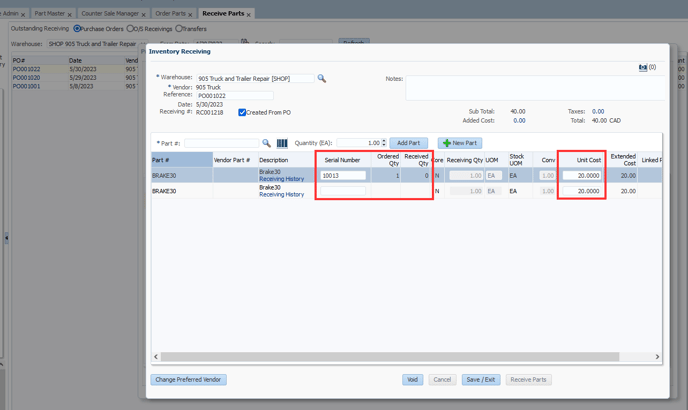
Receiving Serialized Parts

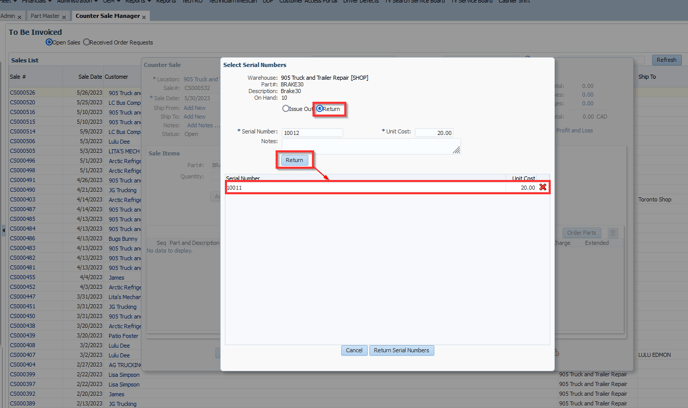
Counter Sales with Serialized Parts